
Last Saturday a warm day
snuck in-between
all of our cold weather.
I used it
to go out to Steve's shop
and scavenger wood to create
a new ironing station.

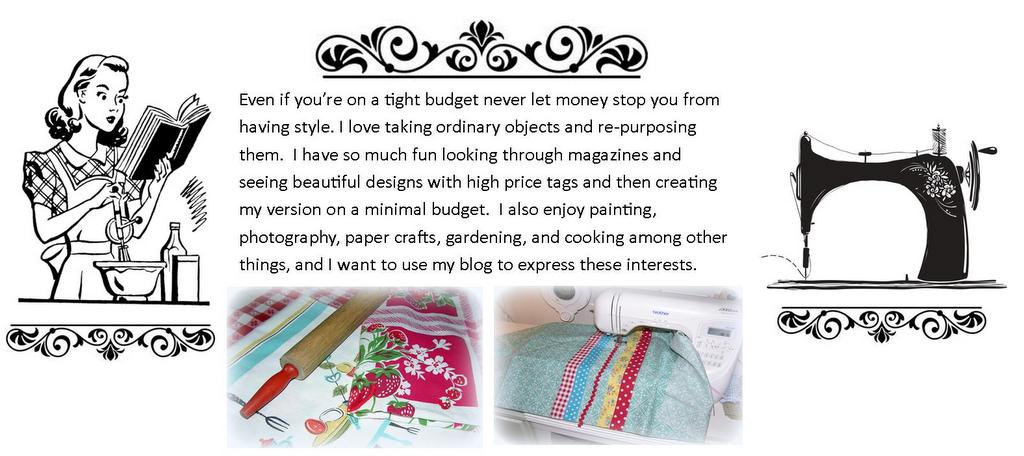
This is what I had before.


I was bound and determined
to not buy anything
only using materials I could find
here at home and in Steve's shop.
This was all the paint
that I could find.
I ended up watering it down
to make it work.


Here it is finished.

🧵🪡🧵🪡🧵🪡🧵🪡🧵
You may have noticed
that I have wheels on one side
and not on the other.
I saw a cart on Amazon
made this way.
It kept me from having
to put locking wheels on one side,
which I couldn't find anyway.

I needed handles to make it
easier to lift it up
and
wheel it around.
I couldn't find any old handles
in the shop
but I did find these two coat hooks.
I just installed them upside down
so that I could put my hands under
them and lift.
It works great !


That's it for this post.
Thank you for stopping by.
Never get in a rut
and think you're not capable
of doing something
Before you first give it a try:)
God bless you all
You're blogging sister,
Connie :)
Its just amazing Connie ... as are You!!! You have given me such a great idea for revamping my little sewing space. I just adore what you have created here & can see how useful it would be. Well done Connie!! xx
ReplyDeleteI am delighted that you like it and are planning on copying my idea. That's what blogging is all about to me . . . sharing helpful ideas and inspiring our blogging friends.
DeleteI have gotten so many ideas form my blogging sisters through the years :)
What a good idea.
ReplyDeleteThank you :)
DeleteI am so impressed. What a great idea and love the baskets on the shelves. Well Done!!!
ReplyDeleteThank you . . . my new space for sewing is smaller than what I had before so it's important to make the most of what space I have :)
DeleteI think Steve would be very proud of you! You are so creative and you did good!
ReplyDeleteYou are so sweet Mari, thank you :)
DeleteWhat a great ironing station! Very clever! And putting the wheels on it is really a great idea, with those handles too! Now, I hope you don't throw away your old ironing board, (unless it is broken?) I use mine not only for ironing (which is rare for me. If I sewed like you, I would use it more), but I use it for wrapping Christmas gifts, because I can adjust the height of it to make it the perfect height to stand up and wrap gifts, which I prefer to sitting. However, if I needed to sit, I could adjust the height again to lower it. So I find it to be a handy thing to keep around! I love yours, because of the little baskets and bins you can put on the shelves too! That is really nice! Great job!!
ReplyDeleteThank you for the tips on ironing boards. I was thinking about putting it in my garage sale this spring, but maybe I should hang on to it. There are not many tables that we have that we can adjust perfectly to whatever height we need. You have some great ideas there sister!
DeleteWell, aren't you just clever! I love the handles! I think I might borrow your idea for an ironing station!
ReplyDeleteGrace & Peace,
Pam
I absolutely love it when someone says they're going to copy my idea. Isn't that what blogging is all about, sharing ideas:)
DeleteVery creative! I love that you used what you had on hand in a new way.
ReplyDeleteOut in the shop we have leftover scraps of wood from all kinds of projects that my husband did. I am always amazed when I can go out there and find exactly what I need to do a project. I know someday I'll run out but that hasn't been the case so far:)
DeleteConnie, God has blessed you with so many gifts. I love "watching" your projects.
DeleteSteve must have had a lot of wood stored in the workshop. You were able to find just what you needed for this great project. I have a couple of ideas that occurred to me as I looked at your project and I think I will be making a few changes in my laundry room too. You continue to amaze me with the things you create!!
ReplyDeleteI am so happy that I could inspire you and I'll be looking forward to seeing what you do in your laundry room. Be sure and post pictures:)
DeleteI really love it! It's so practical and much more roomy for pressing quilts, etc., than a reagular ironing board. You are such a talented lady and inspire me with each and every post. I hope your Sunday is a wonderful one.
ReplyDeleteBlessings and hugs,
Betsy
Thank you. I hope when I wake up tomorrow the roads aren't bad. We had some snow today and we have been having rain. If the roads are icy I'll stay home and skip church. It's my turn to bring the snack for Bible study, but everyone there knows I do not drive on icy roads.
DeleteWow, I am so impressed! Hard to believe you made this whole thing! It is a gorgeous piece of furniture now! And you designed it, too! I just love it! You are extremely creative.
ReplyDeleteAnd you are extremely kind. Thank you, I'm glad you like it. It is certainly going to give me a little more organizing space in my sewing room :)
DeleteThat's impressive. It turned out really nice and look at all that storage space underneath. What I'm most impressed with is that you made that little bottle of paint stretch to paint the entire thing.
ReplyDeleteThat is why you see patches of wood through watered down paint. I decided that I was bringing back the shabby chic look, LOL
DeleteHi Connie! I wanted to thank you for coming over to visit me at Marmelade Gypsy and just got so entranced by your blog! I love the ironing station and your kitchen in another post is the cutest thing ever! You're incredibly clever! It's so nice to "meet" you! Happy week.
ReplyDeleteI'm glad you came to visit. I've been a follower of yours for a long time, but rarely leave comments. I need to visit more, your blog is very inspiring as well. :)
DeleteOh, I love this! You've given me some great ideas :)
ReplyDeleteI am always delighted to hear that. I love that bloggers can inspire one another, I know that I have been inspired many times by many of you.
DeleteThat's not a 'rough project' Connie, it is Brilliant! What a good idea, and how pleased your husband would have been to see you making use of his things. I wish I managed to do DIY!
ReplyDeleteThank you, Steve taught me a lot of things and I am very grateful. He is always here with me in my heart, I miss him so much.
DeleteI'd say you're a carpenter, and a creative one at that. Well done! And glad you enjoyed my waterfall.
ReplyDeleteI loved your waterfall and like you said not many people can boast of having a waterfall named after them, congratulations!
DeleteA very creative make, Connie♥ Steve would be very proud of your creation!
ReplyDeleteThanks you, that warms my heart :)
DeleteYou certainly soaked up a lot of knowledge from helping Steve over the years. What a great job you did, from the planning, construction, painting and finishing! Well done indeed, he would be so proud of you.
ReplyDeleteThank you, moving from the barn to the spare bedroom was a downsize for my sewing room, but this will certainly help with organizing :)
DeleteOh Wow that is really cool, you did a fabulous job with the design and now you have a great storage area too!
ReplyDeleteThank you, that's very kind.
DeleteOh Connie.. I want to be you!!!! You are so ingenious!!!! What a great idea and you made so much more space to store your things! I love it! If I sewed more, I'd do the same thing and copy you. I do have an ironing board, which when I sew, is too small as I use it for cutting on, besides sewing. I did have a nice big wood top that my hubby bought to place on the top of a regular ironing board, that I used for years when I sewed alot. Now I use it for my "desktop" for my crafting. Is so nice and sturdy and it sits on top of 2 drawer file cabinets at each end... so I have drawers on both sides of my crafting area. It beats doing all my crafting on my dining table! You are indeed a carpenter! I helped my ex husband build 2 different houses, and learned alot from him too, and I know I can do things, but just don't usually have the motivation anymore. I could probably build a shed if I put my mind to it! I can do a few repairs, like nail up fence boards, put up shelves, things like that, but build a cabinet?? That would be interesting! Your posts are always so interesting and fun... bless you friend! xoxo Marilyn
ReplyDeleteHi Marilyn, I'm so happy you came to visit. I've been wondering how you are doing. You haven't posted anything for a while. I know that the days between the holidays and Spring can be very long and dreary. In my mind I think that I would like Spring to come into full bloom the day after New Years, but then the Lord has other plans about that and I know that His plans are better than mine. If I was in charge this world would be a mess.
Deleteiron??? what is an iron??? i try not to get close to one!! hahaha you did a wonderful job and i like that you only used materials you had, very clever!! i enjoy all diy projects!!
ReplyDeleteHi Debbie and thank you . . . I live on a budget and do not believe in spending money in any area that I can do something myself. I call it being thrifty, some would call it being a tightwad, LOL
DeleteYou are simply amazing, Connie! I have no DIY skills whatsover. I'll bet it is bittersweet to go into Steve's shop. Sure hope this comment goes through. I've been having problems with this new laptop and haven't been able to comment on blogs.
ReplyDeleteHi Melanie, for the first few years I couldn't go in there to look for anything without bursting into tears, but I haven't done that in a while. I can't believe it will be 5 years this March. Some days are still very hard and I get to feeling lost. It's the hardest thing that I've ever had to walk through so far in this life of mine. I know that you know exactly how I feel.
DeleteWow! You are so artistic and creative. That ironing "station" is genius.
ReplyDeleteWow, thanks!
DeleteI am a big fan of repurposing things just like you are doing with this wood from Steve's shop, but admittedly I am not handle with building things. I don't even own an ironing board anymore, just a tabletop one for emergencies.
ReplyDeleteI'm too cheap to buy anything that I can make myself . . . I'm not a pro, but I can come up with a functional finish :)
DeleteI am amazed at your abilities and I greatly admire your knowledge and talent ❗️
ReplyDeleteWow, thanks, it wasn't that much, but I am enjoying having the extra storage it provides.
DeleteHi Connie, love all your sweet hearts and Valentines touches, so cute. Thank you for coming by my blog and for your kind comments, they were appreciated. Happy Valentine's day, hope it is a sweet one.
ReplyDeleteBlessings, Nellie
Thank you, in fact double thank you, first for your sweet comment and secondly for your visit :)
Delete